
 Tweet
Tweet
A big pair of pliers broke the plastic skirt free without much damage. Now it goes on and off fairly easily.
Removing the skirt allows the scope to get close enough for the Money Shot. It only needed another 5mm or so. Here is the same coin with on-board lighting, without the skirt:
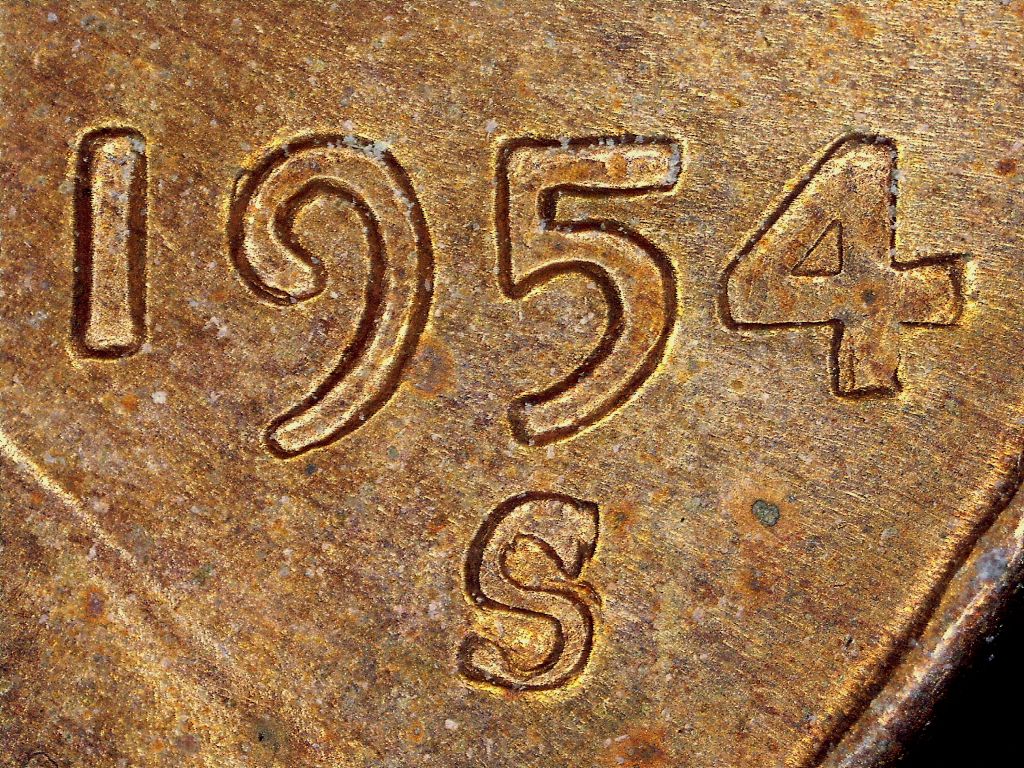
I did discover another "trick" to make the scope work a little better...the automatic exposure has a "range" of exposure values before it changes its exposure settings. If you set the light level fairly high, and slowly reduce it, you'll find that the display will get gradually darker, then will brighten when it drops below the exposure threshold. To get best results, you can snap the shot "just before" the scope changes to the next setting. This avoids over-exposure and gives the best overall result.
Removing the skirt allows the scope to get close enough for the Money Shot. It only needed another 5mm or so. Here is the same coin with on-board lighting, without the skirt:
I did discover another "trick" to make the scope work a little better...the automatic exposure has a "range" of exposure values before it changes its exposure settings. If you set the light level fairly high, and slowly reduce it, you'll find that the display will get gradually darker, then will brighten when it drops below the exposure threshold. To get best results, you can snap the shot "just before" the scope changes to the next setting. This avoids over-exposure and gives the best overall result.
 Be verwy verwy quiet... I'm hunting coins!!!


Comment